Pages

Tuesday, November 29, 2011

WMSC#75-Dessert Buffet Labels and a First


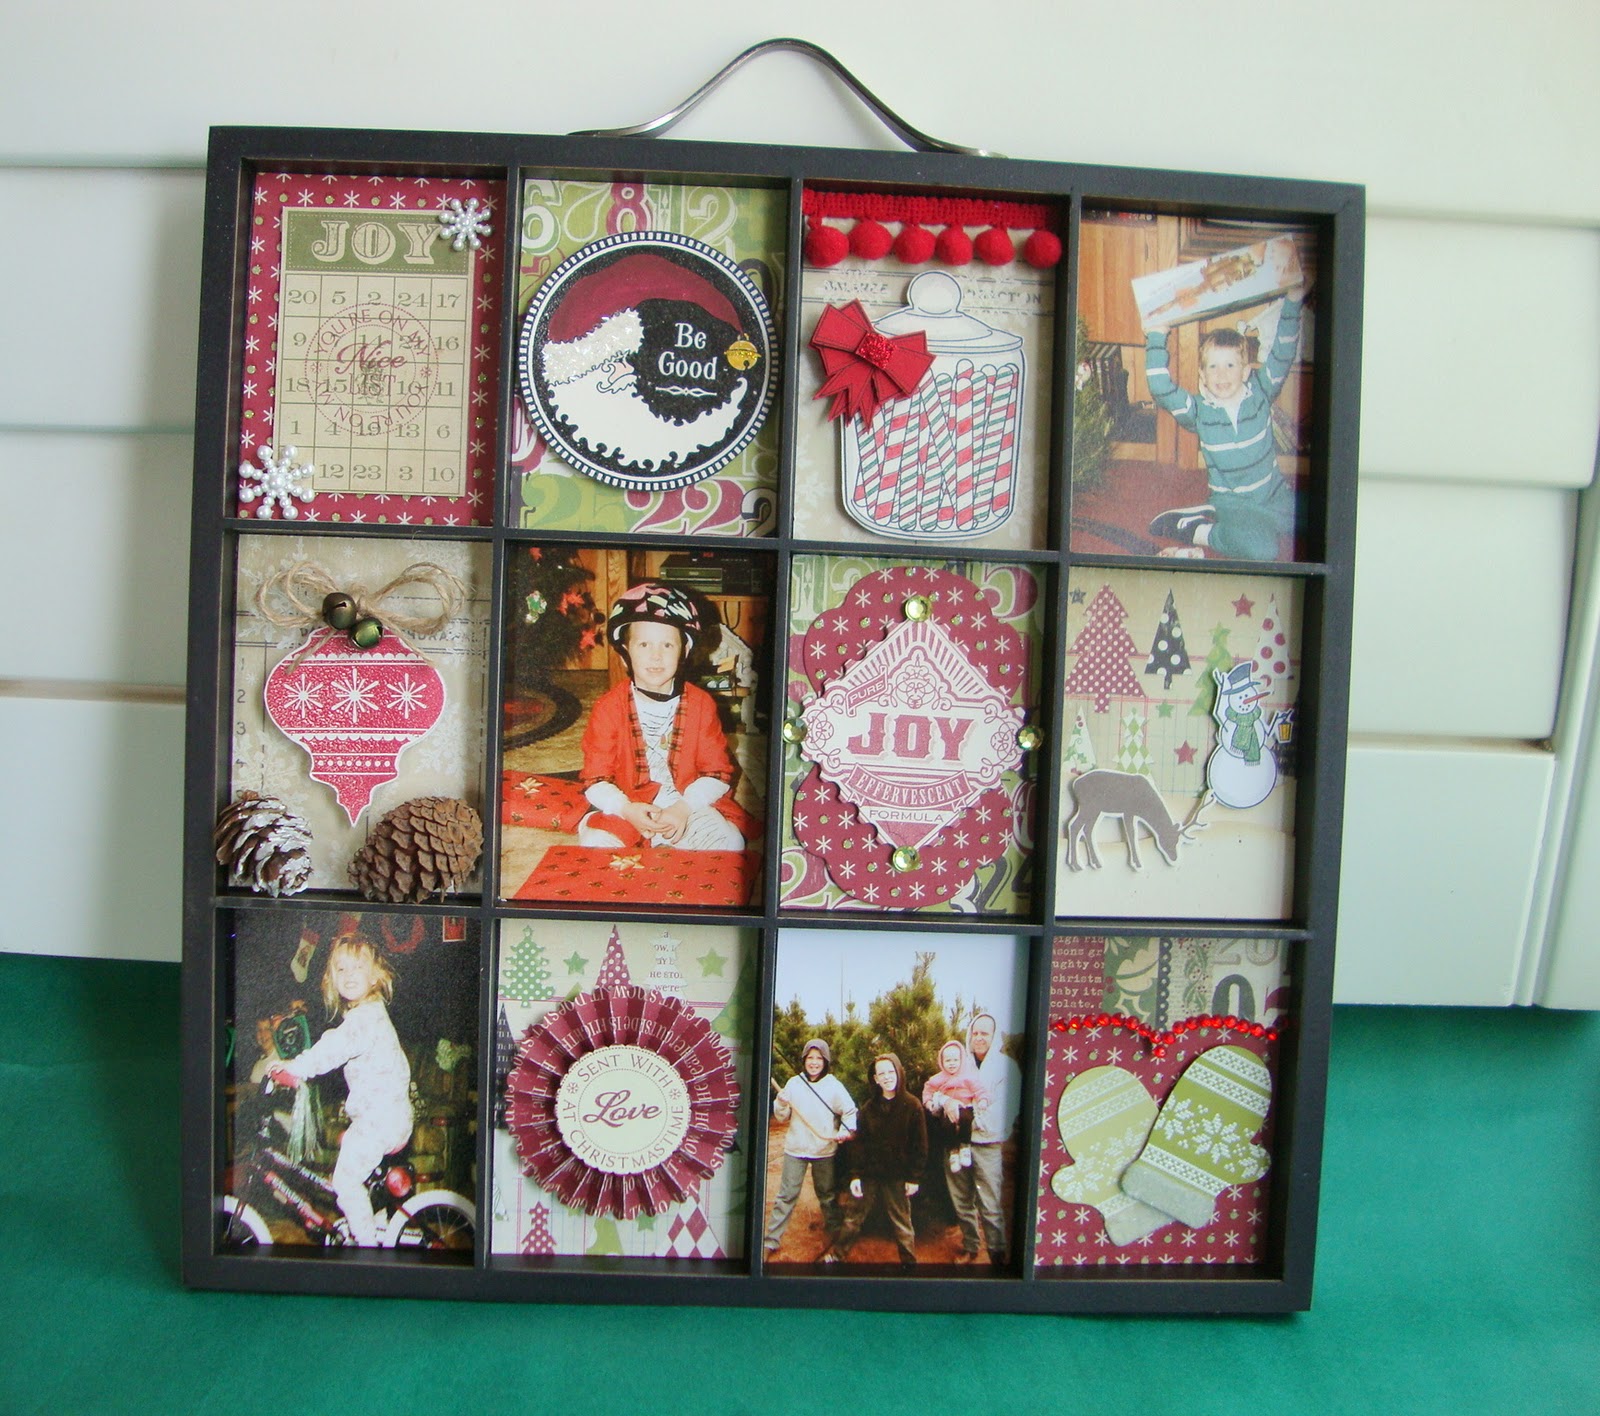
This is a first for me today.  For the very first time, I have planned my Christmas Eve menu, not around what my families favorite foods are, or even my favorite things to cook.  Today I planned my menu around my stamps!  Let me explain.  On Christmas Eve, I always host my whole family for a Dessert Buffet.  I usually make six or seven mini versions of their favorite sweets and choose them based on what they like to eat the most.  This year, though, the Waltzingmouse Sketch Challenge #75 has asked up to create a trio of placecards for our holiday dinner.  I decided to make my placecards be all about the desserts I plan to serve at my buffet.  Waltzingmouse has lots of yummy and elegant holiday stamps, so I chose my menu based on the stamps I wanted to use for this challenge, and luckily, they are all delicious desserts too.  My family will not be disappointed.
Here is a picture of the placecard trio:


To make my placecards I used a round tag diecut from a very bright and shiny silver cardstock.  I also cut a Spellbinder Fancy Tag Trio and embossed it with red glitter embossing powder and an image from Waltzingmouse Fancy Phrases.  It fits perfectly with the Fancy Tag die.  I used some glittery stockers to spell out the dessert name.  The tag was adhered to a red Spellbinder Ironworks diecut.  I stamped and cut out a cute trio of holly leaves from Festive Foliage and tucked it inside the Fancy Tag.  Each card has a special little embellishment added to the holly leaves. 

A silver pinecone and holly berries from Festive Foliage on the Creme Brulee placecard,


 glittery candy canes from Candy Jar Fillers on the Peppermint Fudge placecard,


and lastly, a sweet little gingerbread man with red sparkly buttons also from Candy Jar Fillers on the Gingerbread Trifle placecard.


 I added a saddle-stitch bow and glittery silver snowflake as a final embellishment.  I am not exactly sure what else I am going to serve, but I have enough cute Waltzingmouse images to suit just about anything I can dream up.  Won't they look pretty Christmas Eve on my buffet table with a beautiful red tablecloth and lots of pretty candles?  I am really looking forward to it!

Sunday, November 27, 2011

Holiday Lights

I made a very CAS card with PTI's Holiday Lights stamp set and their Wonderful Words Holiday dies.  Wow, do these stamps make it so easy to make a very cute card in just a matter of minutes, and they are very flat and easy to mail. 
 I guess my cards have been a little more "busy" lately, since my daughter told me this card was too "plain".  She was probably comparing it to the birthday card I made her that had so much on it that it wouldn't fit into an envelope.  I guess I will have to remember to always pile up her cards with lots of "stuff" because apparently that is how she judges her cards, the more embellishments the better as far as she is concerned.


Friday, November 25, 2011

Papertrey Ink November Blog Hop


It seems like forever since I was able to participate in Papertrey Ink's blog hops, but this month's inspiration photo was gorgeous.  How I wish I had a staircase like the one in the picture to decorate during the holidays.
Isn't this a gorgeous display?

Here is my card based on the beautiful photo:
I loved the traditional red/green and cream in this picture as well as the pine boughs and the patterned pillows.  I used my Background Basics Houndstooth to stamp a pattern which was layered and stitched onto a strip of pinefeather cardstock with a cute pine branch border cut with a Martha Stewart punch.  I diecut some Stocking Print stockings and stamped them with Waltzingmouse Nordic Winter stamps and embossed them with white and red embossing powder.  All the stockings are a bit different with flocked cuffs or red sparklies, but they sure pop against the houndstood background.  The cardbase is stamped with a sentiment from Tree Trimming Trio and the kraft cardbase is embossed with the woodgrain impression plate.  Lots of PTI goodness on this card and it just makes me smile looking at it.  Enjoy the blog hop, it is sure to put you in the holiday spirit!

Monday, November 21, 2011

WMSC#74 Candy Canes

Since the rest of the week is going to be pretty hectic getting ready for Thanksgiving, I knew I better get my Waltzingmouse Sketch Challenge  #74 card done early, so here is my take on the sketch by Claire Brennan.
My card today uses my new Waltzingmouse Candy Jar Filler set.  My friend Renee of It's a Patchwork Life, sent me a gigantic package of patterned paper, all cut up into nice, usable sizes.  I have been wanting to use this very sparkly candy cane print paper for a while and this sketch was the perfect opportunity.  I used a Martha Stewart edge punch for the pinebough border, copics to color the candy canes, lots and lots of chunky glitter to sparkle them up and an embossing folder to add that snowflake pattern to the green circle image.  I stamped the bow four time, embossed it with silver embossing powder and popped it up.  The sentiment from Waltzingmouse A Cottage Christmas was stamped and embossed in silver on a Spellbinder banner.  I hope everyone is almost ready for their Thanksgiving celebration and of course, make sure you take some time to check out this weeks Waltzingmouse Sketch Challenge, you will see lots of great cards and gain tons of inspiration.

Thursday, November 17, 2011

Waltzingmouse November Blog Waltz


Today is the Friends of Waltzingmouse November Blog Waltz.  You should make sure to check out all of the holiday cards and projects guaranteed to put you in the holiday spirit.  Here's a link.
I have been wanting to make a shadowbox ever since I saw one made by Mona Pendleton back in September and again in November.  Here is a link to the projects that inspired me, here and here.
 I used a 7 Gypsies shadowbox as my base and a variety of papers I have had for some time.  The most fun and also time-consuming part of this was selecting the perfect pictures of my kids and husband from Christmas' past.  I chose pictures that weren't necessarily the best, but they all mean a little something special to me. 


 First up, Matt who is now 29.
I have a ton of pictures of my kids all holding up some kind of Christmas gift they just had to have.  The box next to Matt has a cute candy jar image from Waltzingmouse Stamps Candy Jar Christmas Fillers set.  It is very sparkly and glittery with a three layer popped up bow.
Next up is Andy, now 27.
I love the toothless grin on Andy's face as he posed with his new bike helmet, pretending that he will love to wear a helmet even though that was back in the day when the only kids who wore helmets were the ones with crazy moms like me.  In the box next to him I used an embossed ornament from WM stamps 2010 Vintage Ornaments and a couple of pinecones, one I collected from outside our little cabin in Montana.
Third, my baby, Carly who is now 20.

Carly hates this picture, but I LOVE it.  She is wearing snuggly pink pajamas, her hair is all over the place and she has that fake, "Say Cheese" smile on her face while she sits on her new Christmas bike.  She told me she can't believe I used to let her out of her bedroom looking like this.  Next to Carly is a Tim Holtz medallion and the scallop on the top of it is from WM stamps Candy Jar Christmas.
Last up, a picture of the entire group.  
I have about 15 of these pictures, starting back when my husband and I first married and the picture was of him chopping down the Christmas tree.  Over the years, the kids were added to the picture, but someone always had to hold up that saw that was used so often.  Next to that picture are some cute mittens stamped with WM Nordic Winter and embossed in white with flocked cuffs.  My favorite set from Waltzingmouse...so far!
Here are a few pictures of the other boxes:
I used WM Around Christmastime for the vintage Santa, Seasonal Remedies for the "Joy" tag and A Cottage Christmas for the cute little snowman popped up on the snowy hills with a PTI diecut deer feeding at it's feet.

This shadowbox is already hanging in our family room, I couldn't wait until closer to Christmas, but I have to say it was so much fun to put together, trying to come up with the perfect embellishment for each box to go along with the memory-filled photos.  Thanks for taking a trip down memory lane with me.  Now, here's that link to the Blog Waltz again.  I know you won't be disappointed.


Tuesday, November 15, 2011

WMSC#73 Join Us for Thanksgiving


In this day and age, I don't imagine too many people send invitiations to their family members for Thanksgiving.  I know I don't, it is just assumed that Thanksgiving will be at either my house or my son's house and word is spread via phone or email.  My parents, however are a different story.  They are getting older, very forgetful, yet still get insulted if we assume they might forget something as important as birthdays or holidays.  They are still old school, the types who send handwritten letters and thank-you cards, so lately, I have been giving them their "reminders" in the form of a written invitation.  They don't realize they are the only ones who get this particular type of "invitation".
 Here's a little card I made to invite them to Thanksgiving at my son's house this year.  I know they will save it because they think it is coming from their grandson and hopefully it will remind them where and when to show up for Thanksgiving dinner.
This weeks sketch is by Claire Brennan and since I am mailing it, decided to make it fairly CAS.  I used Waltzingmouse Stamps Join Us for the embossed sentiment and Bountiful Basket Additions for the main image and tag sentiment.  I have really enjoyed coloring these little basket and pumpkin images this season.  I have used them several times and they are so nice for a novice Copic colorer like me.  This time I added a little snippet of lace along the basket edges.   I used a woodgrain stamp in versamark for the cardbase and Papertrey Ink Mat Stack #3 diecuts with some Bo Bunny Forever Fall patterned paper.  I wrapped a little twine and a button onto the tag and with all the Thanksgiving details on the inside of the card, my Mom and Dad should have no trouble remembering Thanksgiving this year. 

Sunday, November 13, 2011

November 4 of a Kind Waltzingmouse Style (A little blog candy, too!)

This is going to be a long one, but bear with me, there will be some blog candy offered at the end of my post.  It's 4 of a Kind time again and this time our hostess is Renee Lynch one of the Waltzingmouse Stamps Mischief Makers, so I am sure you can guess what brand of stamps Renee sent us in our kit...Waltzingmouse of course!  That was fine by me as I have been using them almost exclusively for the last six months.  For those of you who don't know what our 4 of a Kind posts are all about, here's a little background.  Every month 4 friends, Renee Lynch, Joyce Mehrberg, Kim Heggins and I have a little fun making cards using the exact same "ingredient kits" sent to us by that month's hostess.  Our challenge is to make a project using at least 4 of the ingredients.  We can use more and use anything else we have on hand, but there has to be at least 4 things from the kit included on our project.  I was the first hostess and I have to say my three friends totally blew my little kit out of the water.  Every month the kits have been better and better, packaged cuter and I am going to have to really step up my game when I host again in January. 
Here are a few pictures of the "kit ingredients" we all received this month from Renee:


Didn't she send us a lot of gorgeous ingredients using Waltzingmouse Sewing Box Christmas?  Did you notice all those cute little tags, ricrack and I hope you can see those super-cute snowflake buttons all packaged up and tied with the most beautiful gingham bow. 
I guess I've talked enough about what was in my kit, how about I show you what I made with it?

First, a red/white card.  For this card I used the embossed white snowflake panel, and red stamped Sewing Box Christmas mittens.  I stamped a WM Nordic Winter pattern on the mittens and embossed it in white and added a ton of white flock.  Don't those look warm and cozy?  I even used one of the little kraft bags that our buttons were packaged in and slipped in a few of the tags that Renee stamped for us. 

 I added some more stamped images to them, more Nordic Winter images  a few more snowflakes, even one of the cute snowflake buttons.  I slipped the tags into the kraft bag and tied the whole thing up with some of the red seam binding ribbon that Renee sent us.  I cut a cute little banner using one of the sentiments she included and layered it over a strip of polka dot paper, also included.  I can't even count how many pieces I used for this one, but it was way more than 4, that's for sure.


For my second card, I used the Sewing Box Christmas mittens that were stamped on the cutest  patterned paper.  The patterned plaid paper are from Cosmo Cricket Mitten Weather.  The blue and red look so pretty together.  I layered the mittens over a die cut doily and then attached it to a PTI Tag Sale ornament.  I added a little bow of wrinkled ribbon and another of the snowflake buttons.  The last touch was the sentiment, and this is where the blog candy comes in.  Renee is going to give away a free set of the gorgeous sentiments from Waltzingmouse stamps called Say It Loud Winter Holiday kindly donated by Clare Brennan, the owner of Waltzingmouse Stamps and also the designer of all these gorgeous stamps.  Wasn't she generous?   Here is a picture of  Say it Loud Winter Holiday.

Say It Loud Winter Holiday
There are so many sentiments for just about any Winter occasion, including Halloween and Thanksgiving!  Doesn't that sentiment look pretty embossed in black?  So shiny and festive.  All you have to do is leave a comment on all four blog posts and one person will be randomly drawn to win that great stamp set.


Here's a link to the other three blogs.  I am sure you are going to see some fabulous cards made with our 4 of a Kind kit ingredients.  Don't forget to leave a comment.  You have until 11:59 CT on November 18th to enter this drawing.

Joyce Mehrberg, Cards-by-the-Sea

Saturday, November 12, 2011

A Cottage Christmas Wine Tag-CFC#28


CFC#28


I have had the best time...and the worst time making this winetag for CAS-ual Fridays CFC#28 Tag, You're It Challenge.   First, an explanation of the worst.  I had such a hard time coloring this image how I envisioned it in my mind.  It is so detailed and I had a terrible time shading it so it didn't look blotchy.  I need a lot more practice for this one.  I didn't give up because I thought this image is so gorgeous and just the perfect size to use on a winetag for a Christmas gift.  The second time I just stamped it twice on blue cardstock and embossed it with white.  I added just a little bit of shading with some blue copics and them added lots of prisma glitter.  Everything is better with glitter, don't you think?

 I cut a white doily and embossed the sentiment from Waltzingmouse Stamps  A Cottage Christmas in white.  I added a bow and a snowflake button and it was done.  Then I started up our fireplace for the first time this year and suddenly, our house felt like Christmas!  I am going to make a lot of these tags to have on hand when I need just a little something to make a bottle of wine, champagne or even sparkling cider look like a special gift.

Tuesday, November 8, 2011

WMSC#72-Big Blooms Poinsettia

Today I have made a card for Waltzingmouse Stamps Sketch Challenge #72

This week's card is a tri-fold and I got my inspiration from one of the Waltzingmouse Mischief Makers, Iwona Palamountain's beautiful card.  To see her card, click here.  Iwona's card  had gorgeous diecut edges on the outside panels.  I knew I wanted to do something similar with my card and decided to use my Papertrey Ink edger dies.  Here is the card I created:


I used patterned papers by Simple Stories 25 Days of Christmas and I stitched around the curved edges for added texture.  My favorite part of the card is the belly band.

Here is a pic of the inside of the card and the belly band:

 I stamped a medium sized poinsettia from Waltzingmouse Stamps Big Blooms Poinsettia onto scarlet jewel cardstock and embossed it in black.  I didn't have to color it at all, the embossing brings out every detail.  The belly band is made from some corrugated cardstock and reminds me of the band that comes around my favorite Starbuck coffee.  I stamped the poinsettia 3 times and cut it out and popped up the layers using gold glass beads for the flower center.  The inside sentiment is from Waltzingmouse stamps Compliments of the Season.  I am definitely going to try this type of card again using different dies to cut the curves.

Monday, November 7, 2011

Waltzingmouse November CASE Competition

Today I have two little projects, both cased from Clare Buswell.  Here are links to Clare's projects.  The first was a candle and the second was a gorgeous card.  Clare's candle used Seasonal Remedies, a stamp set that I don't own, but I do have the new Nordic Winter set and made my candle using that set.  The card also uses Nordic Winter and Say It Loud Winter Holiday along with a diecut reindeer. 
I think Nordic Winter is my very favorite Waltingmouse stamp set so far.  It looks so striking stamped in red on cream.  Thanks Clare for the holiday inspiration!

Wednesday, November 2, 2011

WMSC#71-Poinsettia Buttons

I love poinsettias.  I love their deep red color, their delicate shape, pretty much everything about them.  Today's WMSC#71 card features poinsettia buttons.  Here's the sketch by Kelly Schirmer on which my card is based: 


Here is my card:

This is a 5 1/2" square card and the base is a beautiful deep green pinefeather cardstock from PTI.  I made my own patterned paper by stamping a sentiment and icicle image from Waltzingmouse stamps Compliments of the Season alternately in green and red ink.  It makes a really pretty combination and I dotted some stickles in the center of each little snowflake.  The main image is a button card from Papertrey Ink's Button Boutique.  I made my own buttons using Waltzingmouse stamps Big Blooms Poinsettia stamps.  Two of the buttons are covered with diamond glaze and really do resemble buttons you might purchase.  The button card is layered over a Spellbinder fleur de lis square frame and snowflake-impressed Spellbinder square diecut.  I zigzag stitched around the perimeter and tied a pretty gingham bow and cinched it in at the center with a "real" poinsettia button.  I think I will send this to one of my crafty friends this Christmas, who better to appreciate buttons than another crafter?  Thanks for taking a look.